Nice to do useful work on Saturday evening.
It is doubly interesting to do some cute hand-made crafts with the baby.
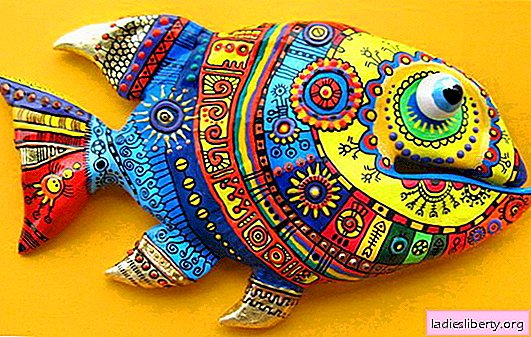
Today's workshop is dedicated to making textile fish.
All of them are small in size and in different colors.
You can use this and build in parallel a decorative panel in a marine style, which will look best in a crib.
Even future fish can be hung by strings under the ceiling. It will turn out a wonderful soaring composition. Such a creative work will gracefully decorate the interior of a children's room or bathroom.

♥♥♥

Stage number 1
Rainbow fabric fish
In the process of sewing, you will need the following materials: flaps of medium or high density fabric, not stretching, synthetic filler for a toy, several multi-colored pieces of felt, several buttons for the eyes. And also: sewing machine, matching threads, needle, scissors.

A pattern is proposed. It can be copied directly from the screen by hand or printed on a printer. Before printing, it is possible to change the size to the desired: reduce or enlarge the layout. As you can see in the figure, the allowances are already taken into account. The numbers also indicate the number of parts to be cut.

After printing, all the details of the fish are cut out and superimposed on the fabric. At this stage, it is advisable to carefully consider the color scheme of the toy. The color of the fabric should be combined and not cause visual rejection. It may be worth choosing colors for a specific interior. This craft can be the highlight of the room, a bright accent.
After the details of the pattern are ready, you can cut it on the fabric. Contour the contours preferably with a soft tailor's chalk or a fading marker. In an emergency, with a pencil or pen.

The felt heart is sewn first. The part is simply cut out in the shape of a heart with scissors. Edges do not need to be processed, since felt does not spill along the edges. The form is sewn in the tail area using a sewing machine. A special "line 1 millimeter from the edge" is laid. For such lines, the sewing machine has a foot that adjusts the width of the indent.
Next, multi-colored flakes are made. Each flake is scribbled along the edge from the wrong side, and then it is turned on the face. A small amount of synthetic filler is packed into all five flakes. They need to give a small amount. Then they are pinned with needles to the product in the area of the body.

Next, the middle part of the body is applied and scribbled.

The remaining three scales are sewn in the same pattern.

The result is a fish that does not yet have fins.
For the manufacture of fins, 4 fabric details are cut out, two of which are mirrored. On the wrong side, future fins are scribbled along the edge, turned on the front side, stuffed with a slightly synthetic filler and sewn to the main part.

The second half of the fish can be made in two versions. In the first case, a mirror image of the first half is made. All according to the same scheme as described above. In the second case, the fabric is simply sewn to the second half. No decorations. This option is suitable for vertical panels. We will consider it below.
Ready half of the fish is laid out on the table with the wrong side up. Attention, the fabric under the fish with the wrong side down.

In order to smoothly lay the stitch, the fabric and the fish are pierced by tailor's needles. Only the tail will remain unstitched to subsequently turn the fish on the front side. Next, the machine is laid along the contour "line of 0.5 cm from the edge." All excess is cut off with scissors.
In order for the fish to have a beautiful oval shape after eversion, in the places of rounding on the wrong side, scissors are made notches. After that, the product is turned out and checked: do the seams stretch somewhere. Otherwise, the number of notches increases.
Now the fish can be stuffed with synthetic filler. Next, the tail is sewn up. Slices on both sides are tucked in 0.5 cm inwards and sewn by hand in secret stitching.
Eyes are sewn.
Stage number 2
Miniature felt fish
This creative process is simple. The pattern is printed and details from felt are cut out. The size of the fish can be adjusted before printing on a computer.

Clownfish with white wavy stripes on the sides will be made from orange felt. From yellow felt - butterfly fish with red spots on each side. And the fish with black stripes is an oceanic striped pomfret. For a change of marine life, you can cut a couple of jellyfish.

These toys are sewn on the front side, since with such a miniature inversion of products is excluded. Folds can spoil or render worthless the material itself - felt.
In order to further entertain the baby, you can sew magnets into the fish and make not a soaring mobile, but a toy on the refrigerator. However, with careless handling, such a fish is easy to spoil. Felt is torn.
On magnetic boards you can play an interesting fairy tale performance. Such an activity will certainly please the baby.


